Hardware
We are basing our setup on Wanhao Duplicator i3 v1, like the one here (currently v2.1 is being sold, but that should be of no consequence here: most 3D printers will work).
The laser, we are using, is a 2.5W module, purchased for $75 (again, another laser module could be used just as well or even better: we are not affiliated with the seller, so we cannot guarantee the results).
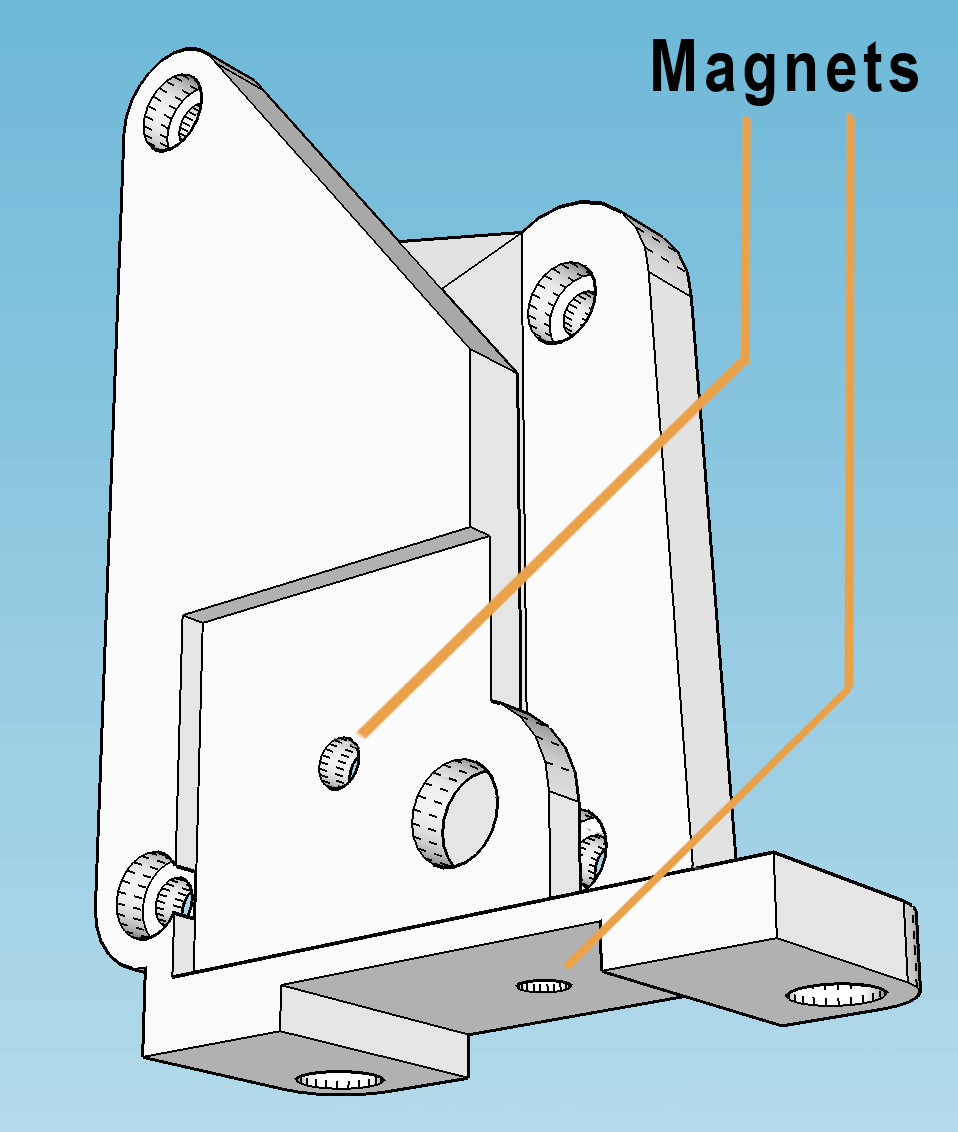
While there are many ways to attach the laser to the printer, we chose to go with magnets.
This way a 3D printer to Laser and back conversion could be made in seconds, as you can see in the videos.
While there are many ways to attach the laser to the printer, we chose to go with magnets.
This way a 3D printer to Laser and back conversion could be made in seconds, as you can see in the videos.
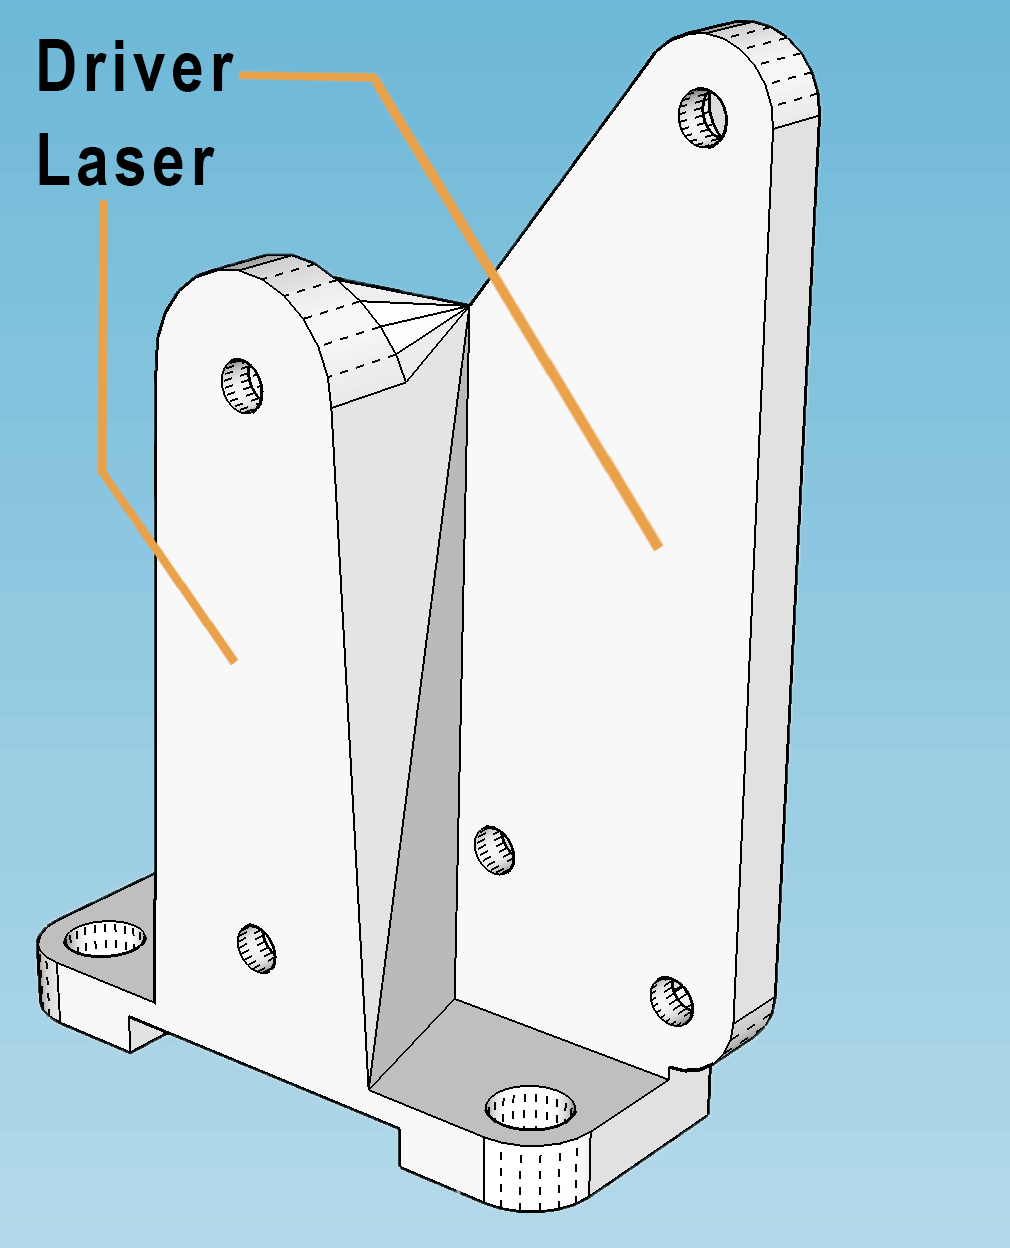
The stand was 3D printed on the same printer, laser screwed in and the magnets were superglued in place (the masking tape is there only to protect the neodymium magnets, which are very brittle otherwise).
The above stand was made with 25×25x5mm (1”×1”×0.2”) square or disc magnets in mind, similar to the one, linked on the side (the cheapest option, currently on AliExpress, for about $1.26, each).
The installation is exceedingly simple: we are connecting the laser in place of the cooling fan, which is fully under the printer’s control and runs at the required 12 volts. A better result might be achieved by using the laser module’s TTL control, but in our experience the described solution is sufficient.
Notice, if your printer has multiple fans, connect the laser in place of the fan, cooling the build, not the nozzle. Also note that if you choose a more powerful laser (about 5W or above), you won’t be able to connect it like that, as the board might not supply sufficient power to its fan output.
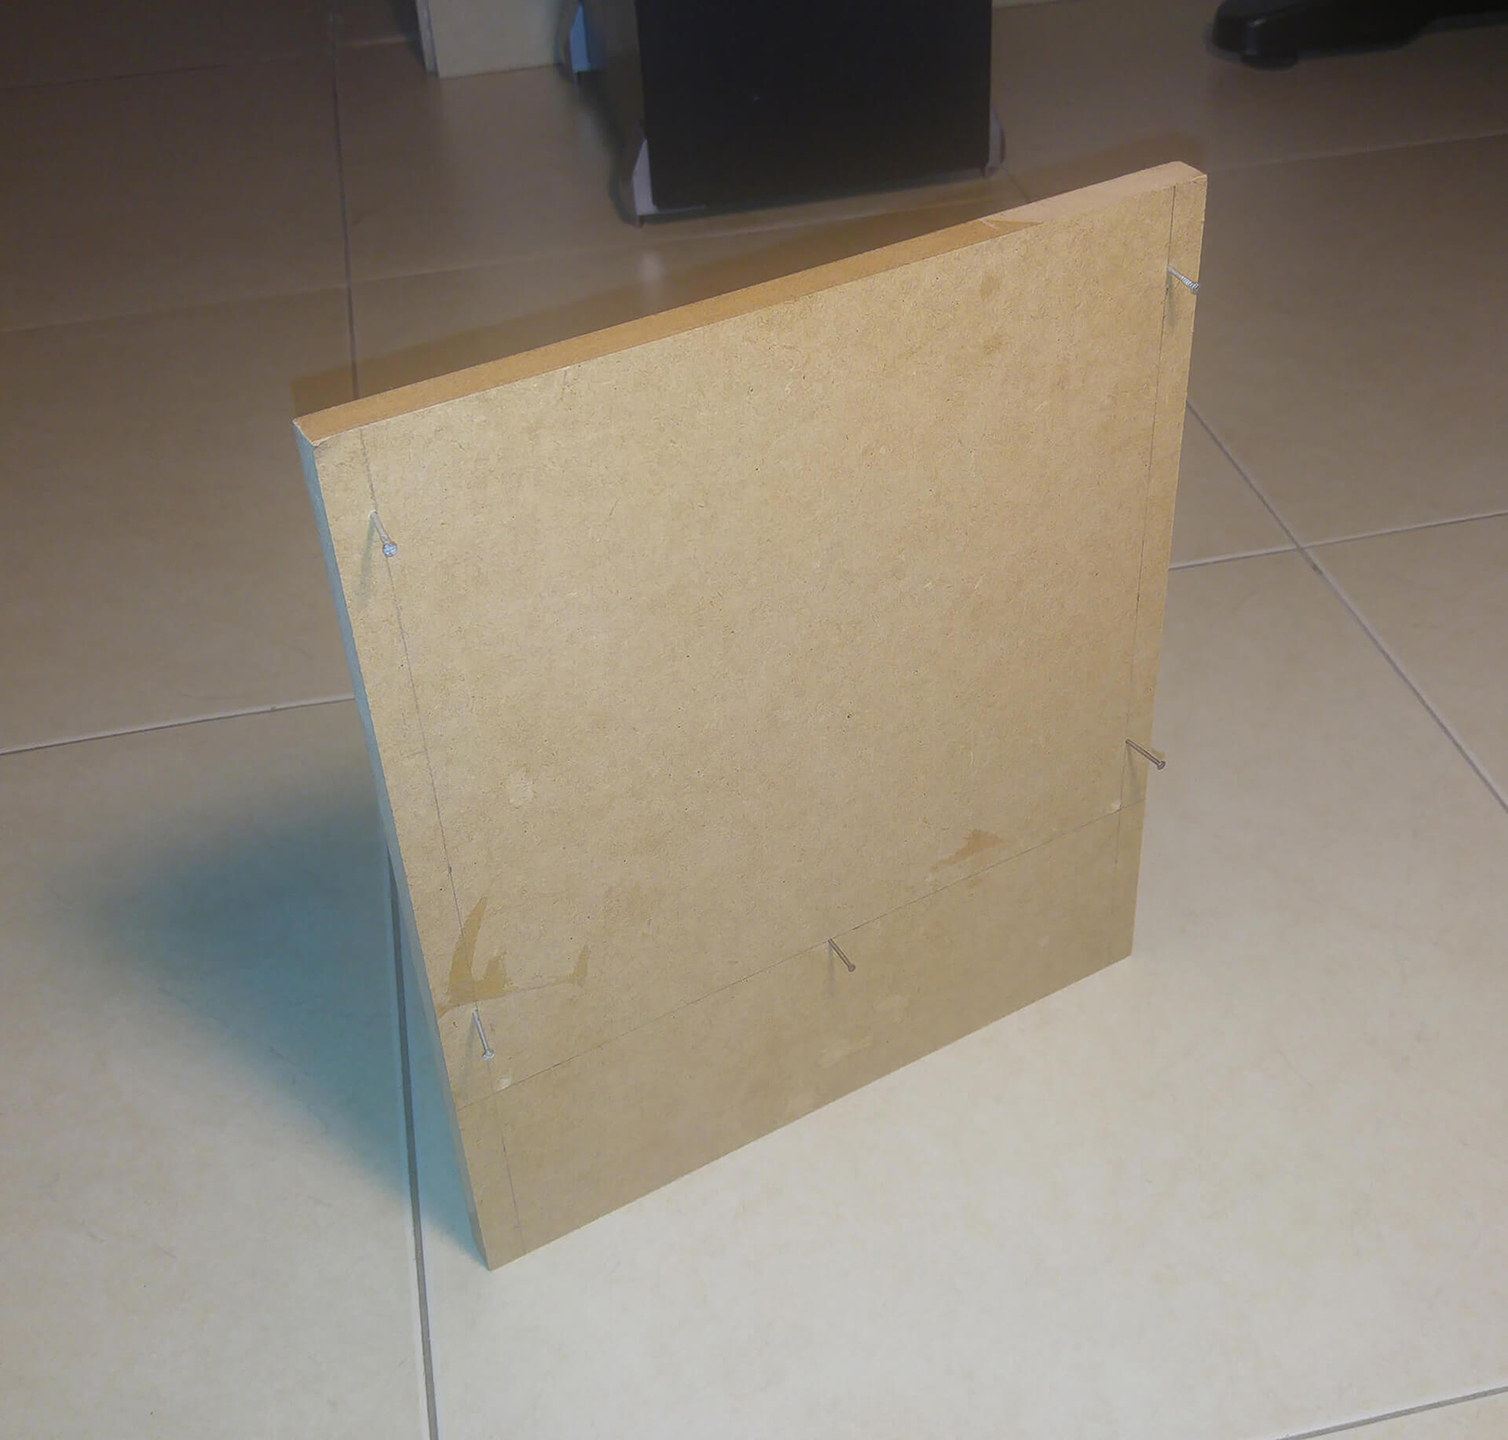
To complete the package, we are also using a wooden plank as a base, when using the laser, on which we have engraved the 0 coordinate and the axes for convenience. This plank also protects the printer’s heated bed from the laser beams. The nails at the bottom of the base ensure its stability as well as the correctness of those coordinates.
Your printer might have an option to manually turn on the fan to a given power, if so, turn it on to a minimum (between 1% and 5% is usually sufficient) and adjust the focus, so that the laser point is as small as possible.


